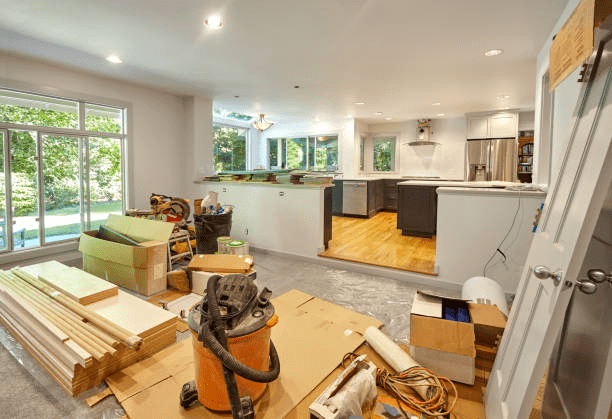
Renovating your home is exciting; you get a fresh look and better functionality. But what often goes unmentioned is how dust can spread into every corner of a property. After a typical kitchen remodel, drywall dust can end up in closets and areas that haven’t been touched for months.
Renovations bring real benefits like more space and updated features, but they also create temporary headaches. Dust clouds fill the air when walls come down. Noise from drilling and hammering starts early. Paint fumes and adhesives release chemicals that may affect indoor air quality.
The dust isn’t just annoying; it can trigger allergies and breathing problems. Your neighbors won’t appreciate constant noise either. That’s why controlling these issues from day one matters so much. With simple planning before work starts, you can protect your health, keep your home cleaner, and maintain good relationships with everyone around you. Here’s how to plan effectively.

Phase 1: Before Renovation – Planning for Environmental Control
The biggest mistake in a first renovation often comes down to poor planning. Many people assume they can simply “figure it out along the way,” but that approach can lead to weeks of coughing and dust settling into places no one even knew existed.
Identify Potential Pollution Sources
Start by walking through your project with your contractor. Ask them which parts will create the most mess. Different tasks create different problems:
- Demolition: Tearing down walls is your biggest dust maker. Old plaster and drywall turn into fine powder that travels through air vents.
- Sanding: Whether it’s floors, drywall, or cabinets, sanding creates clouds of particles that settle on everything.
- Cutting: Sawing wood, tile, or metal sends debris flying and creates loud, sharp noises.
- Painting and adhesives: These release fumes and chemicals into the air. You’ll smell them for days if you don’t plan for ventilation.
Prepare a Mitigation Plan
Write down a simple plan before work starts.
- Which rooms will get messy?
- When will the noisy work happen?
- Where can you set up plastic barriers?
Plan your ventilation strategy. Know which windows you’ll open and when. Decide if you need to rent air purifiers or fans. Mark on your calendar when the loudest work will happen so you can plan around it.
Inform Household Members and Neighbors
Talk to people early. Tell your family what to expect each week. If you have kids with asthma or elderly parents at home, they need extra warning and maybe temporary relocation during heavy dust days.
Additionally, it’s important to notify nearby residents in advance. A brief conversation or a courteous note outlining the project timeline helps maintain good relations and sets expectations around potential noise or activity.

Phase 2: During Renovation – Active Control Measures
Dust Control During Renovation
Dust travels farther and faster than most people expect. Here’s how to trap it at the source:
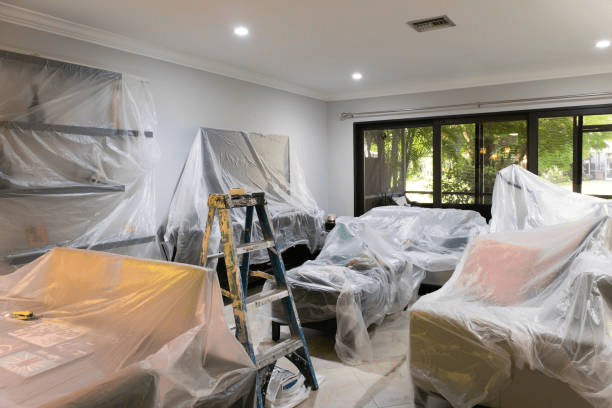
- Create physical barriers: Hang thick plastic sheeting from ceiling to floor around the work area. Tape every edge—even a small gap lets dust escape. Use zipper barriers on doorways so workers can get in and out without breaking the seal.
- Establish one entry point: Make everyone use the same door. Put a mat outside and inside. Keep a separate pair of work shoes by the door to avoid tracking dust through the whole house.
- Use HEPA vacuums constantly: Regular vacuums just blow fine dust back into the air. HEPA filters actually trap it. Run the vacuum during sanding and at the end of each day.
- Consider air scrubbers: These machines pull dusty air through filters and pump out clean air. They’re not magic, but they help, especially during drywall work.
- Cut materials outside: Whenever possible, have contractors cut wood, tile, or metal outdoors. This single change can reduce indoor dust by half.
Noise Control
Minimizing disruption keeps your home calm and your neighbors supportive.
- Schedule smart: Save the loudest work, demolition, drilling, tile cutting for midday hours. Most areas allow construction noise between 8 AM and 6 PM on weekdays. Stick to these times.
- Use noise barriers: Heavy blankets or moving pads hung on walls near the work area absorb some sound. It’s not perfect, but every bit helps.
- Put rubber mats under equipment: Vibrations travel through floors. A simple rubber mat under a compressor or saw reduces the rumble that travels to other rooms.
- Choose quieter tools: Battery-powered tools are often more peaceful than their corded counterparts. Ask contractors about lower-noise options for indoor work.
Air Quality Management
Breathing shouldn’t be uncomfortable in your own home, even during construction.
- Ventilate strategically: Open windows in the work area, but close vents and doors to other rooms. Air should flow out, not dust flowing through the HVAC system into bedrooms.
- Turn off the central air: Running the air conditioner during heavy dust work spreads particles throughout the house. Use fans and portable units instead.
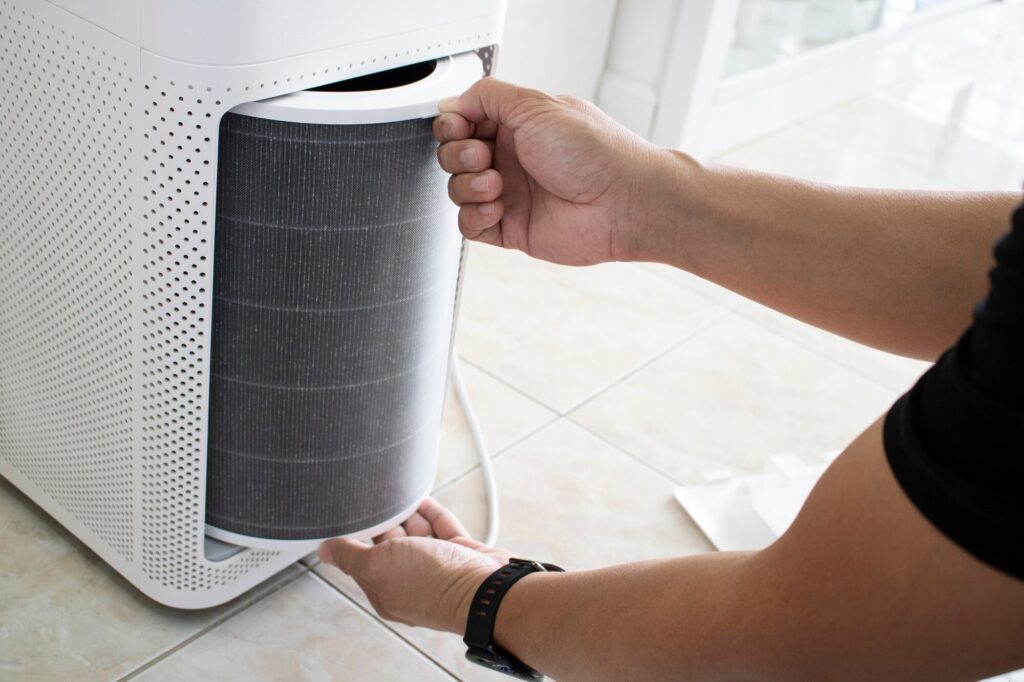
- Add HEPA air purifiers: Place them in the work zone and adjacent rooms. They help, but don’t expect them to eliminate all dust—they’re a backup, not the central defense.
- Handle chemicals carefully: Store paint, adhesives, and solvents in sealed containers when not in use. Keep them away from living areas. Open containers release fumes for hours.

Phase 3: After Renovation – Deep Cleaning and Verification
The work looks done, but there’s one more critical phase. Construction dust is sneaky—it hides everywhere.
Deep Clean Everything
- Start high, work low: Dust settles downward. Clean ceiling fans, light fixtures, and top shelves first. Then work down to the floors.
- Use a HEPA vacuum: Go over every surface—walls, baseboards, windowsills, and floors. Regular sweeping just moves dust around.
- Wipe with damp cloths: Dry dusting sends particles back into the air. Slightly damp microfiber cloths trap dust instead. Expect to go through dozens of these after a significant renovation.
- Don’t forget hidden spots: Open cabinets, closets, and drawers. Check behind appliances and under furniture.
Address the HVAC System
Heating and cooling systems likely sucked in construction dust, despite careful precautions.
- Replace all air filters immediately: Use high-quality filters. Cheap ones won’t catch fine dust particles.
- Inspect ducts: After major work, consider having ducts professionally cleaned. Skipping this step often means dust keeps appearing for months.
Check Air Quality
- Ventilate thoroughly: Open all windows for several days after work finishes. This helps clear out lingering fumes from paint, adhesives, and new materials.
- Test for odors: If chemical smells remain after a week, something’s not right. Keep ventilating and identify the source.
- Monitor for dust: Run a hand along surfaces after cleaning. If dust reappears quickly, there’s a missed source, maybe in the ducts or behind walls.
Final Verification
Walk through each room before declaring the project complete. Run your hand along freshly cleaned surfaces and check back a day later; they should stay dust-free.
Take a deep breath in each space to confirm that no chemical smells from paint or adhesives linger. Turn on the HVAC system and watch for dust blowing from the vents, which indicates an incomplete cleaning.
Only after these checks come back clear is the space truly ready for full occupancy. This final step ensures the renovation improved the home without compromising health or comfort.
FAQs About Dust Control During Renovation
The work looks done, but there’s one more critical phase. Construction dust is sneaky—it hides everywhere.
How long does dust and odor last after renovation?
Dust settles within 48-72 hours, but fine particles linger up to two weeks. Paint odors last 2-3 days for low-VOC paints, 1-2 weeks for regular latex, and 3-4 weeks for oil-based products.
How do contractors protect HVAC systems during renovation?
Good contractors seal vents with plastic, turn off HVAC during dusty work, replace filters before and after, and clean return vents. Ask if they don’t mention protection upfront.
What's the best air purifier after renovation?
Choose one with a true HEPA filter, a CADR rating of 250+, an activated carbon filter, and proper room size coverage. Budget options work fine if they have strong filtration.
Take Control of Your Renovation Environment
Not only do dust, noise, and air quality control keep your surroundings clean, but they also safeguard your mental and physical well-being. Move-in-ready space, amiable neighbours, and fewer headaches are all results of a well-managed renovation.
A successful project depends on careful planning and early implementation. All parties benefit from a safer and more comfortable process thanks to clean air, contained dust, and controlled noise.
Work with renovation professionals in Malaysia who prioritise air quality, noise control, and safety. The right team ensures a cleaner, healthier renovation from start to finish.
We’ve also shared insights on how to keep your office running smoothly during a renovation, a helpful read for businesses planning an office upgrade while staying operational.


